The Mac app has three parts that work together: a Safari extension that audits any page you're viewing with axe-core, the Reports Hub where those results become organised, triaged client reports, and two quick tools that live in your menu bar — the contrast checker and the color-blindness Lens. This page covers all of them.
1. Who is this for — honestly?
Accessibility Checker is built for a specific way of working: audit a meaningful sample of pages, fix what you find, re-test, and show the difference. If that is your loop, the app removes the spreadsheet from it. It is not an enterprise monitoring platform, and it does not pretend to be — here is where it genuinely earns its place, and where it doesn't.
Independent consultants and freelance auditors
The engagement loop is the product: create a project for the client, audit their key pages from Safari, deliver the round’s report, and when the fixes land, start a new round — the diff (“5 fixed since the previous audit, 2 new”) is your progress evidence, and issues you marked resolved or dismissed stay that way without re-triaging from scratch. Two things matter disproportionately here. First, client data never leaves your Mac — findings live in a local file, not on a vendor’s servers, which keeps you on the right side of most NDAs without a procurement conversation. Second, per-issue status that survives re-audits is precisely the feature the browser-extension tools reserve for their paid cloud tiers — here it works offline, per client, with no per-seat subscription.
The person who “owns” accessibility at a small team
Most companies below enterprise size have one designer or developer who inherited accessibility alongside their actual job. For them the app is a menu-bar contrast checker and a color-blindness Lens during the workday, and a lightweight ledger the rest of the time: one project per product, a new round each release, dismissals with notes for the third-party widgets you can’t fix (“raised with vendor”), and a report you can hand your manager that shows the trend rather than a wall of red. When procurement or an EU customer asks for an accessibility statement, you can produce an honest one in minutes instead of a panic.
Agencies shipping client sites
A repeatable pre-launch pass: project per client site, an audit round at each milestone, and the report plus statement attached to the handover. Because rounds are preserved forever, the “state at launch” snapshot is always retrievable when questions come back six months later.
Small businesses facing the European Accessibility Act
The EAA has applied since June 2025, and the most common first requirement a small business actually meets is a request for an accessibility statement. The workflow here is deliberately honest: audit your key pages, fix what you can, and publish a statement that discloses the remaining issues as known limitations. The generator never claims more than partial conformance from automated checks — which is exactly the claim an automated audit can support, and far more defensible than the “100% compliant” badges the accessibility community rightly distrusts.
Where this app is the wrong tool. Automated checks — here and everywhere — detect only a portion of WCAG failures; a full audit still needs manual testing with a keyboard and a screen reader, and this app manages your automated findings and notes, not a manual-testing methodology. It audits the pages you visit rather than crawling thousands of URLs on a schedule — sampling representative pages is the professionally accepted approach for an audit, but if you need continuous whole-site monitoring, dashboards, and team seats, that is enterprise-platform territory (Siteimprove, Pope Tech, axe Monitor) at enterprise prices. And it is single-user by design: your hub is yours, on your machine.
2. The consultant workflow: the Reports Hub
The Reports Hub is the app's home base for audit work. The sidebar holds your projects — one per client or site — with audit rounds nested beneath each. Select an audit to see its findings table, filter and triage issues, and export a report or accessibility statement when you're done.

Open the Reports Hub
Launch the app from the Dock, or — if you're already in the contrast checker — choose Reports Hub… from its gear menu.
Create a project for each client
Click the + (plus) button in the toolbar and choose New Project…. A project has a scope — the list of pages it covers, which fills in automatically as audits arrive — and it remembers the status of every issue you triage. Keep one project per client or site and the hub keeps their histories separate.
Audit pages in Safari
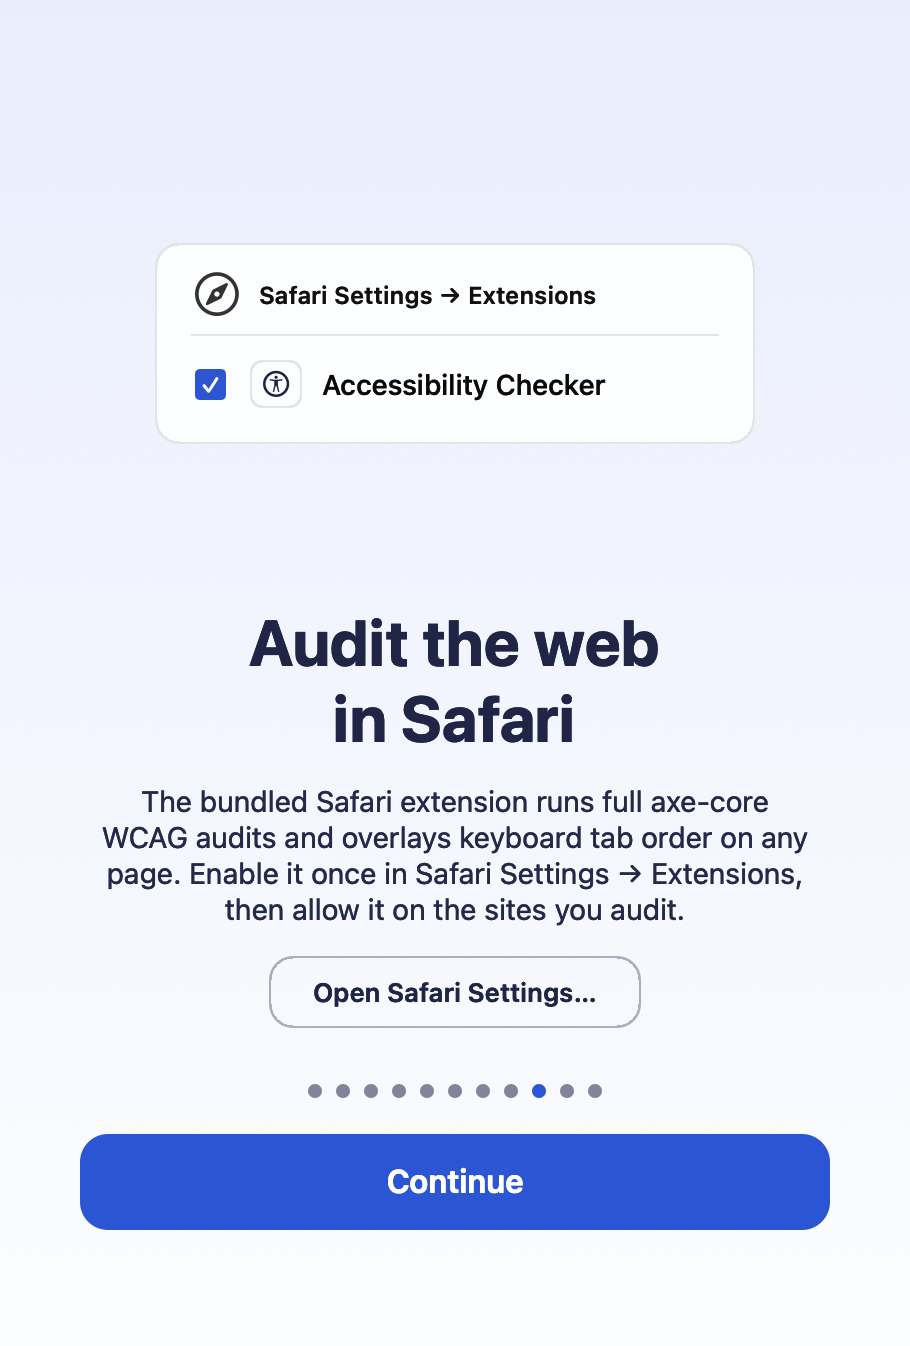
- Enable the extension once. Open Safari Settings → Extensions, turn on Accessibility Checker, and allow it on the sites you audit. The app's onboarding walks you through this the first time.
- Browse to a page. The extension audits it automatically with axe-core — the same engine professional accessibility teams use.
- Click “Send to Reports Hub”. The results transfer to the Mac app privately, on-device, through the shared App Group container — no network request, no account.
Sent pages land in the right place automatically: the app matches the page's host against your project scopes and files the result in that project's newest audit round. If no project matches the host, the app creates one named after the host, so nothing is ever lost.
Audit rounds: re-test without losing history
When you re-test a site — say, after the client ships fixes — click New Audit in the toolbar to start a fresh round. Earlier rounds stay intact, so you can always reopen “the July audit” exactly as it was. Within a round, re-sending a page simply replaces that page's result, so re-checking a single page never duplicates it. Right-click any project or audit in the sidebar to rename or delete it — deleting a round never touches your issue statuses, which belong to the project.
Triage findings
- Right-click a finding to Mark Resolved, Dismiss, or Add Note. A dismissed issue might be a false positive or out of scope; a note records why.
- Statuses stick. Each issue is fingerprinted by page, rule, and element, so the status you set survives new rounds and re-audits — you triage an issue once, not once per re-test.
- Filter the table by status or severity to focus on what's still open.
- Double-click any finding to open the axe rule documentation for that issue.
- Misfiled result? Drag the row onto another audit in the sidebar, or right-click and choose Move Page Result To.
The header keeps score for you: coverage (“4 of 6 pages in scope”) shows how much of the project's scope this round has reached, and movement (“3 fixed since previous audit”) shows progress against the round before.
Export reports and accessibility statements
When the round is triaged, the Report menu exports it as HTML (use your browser's Print command to make a PDF) or Markdown. Exports reflect your triage: statuses and notes appear alongside the findings.
Statement… generates an accessibility statement structured on EN 301 549 and the W3C statement format, in your choice of 17 languages, built from the project's open issues only. Save it as HTML for the client's site, or copy a hosted link — the statement travels in the URL fragment, so nothing is stored on a server.
3. The contrast checker
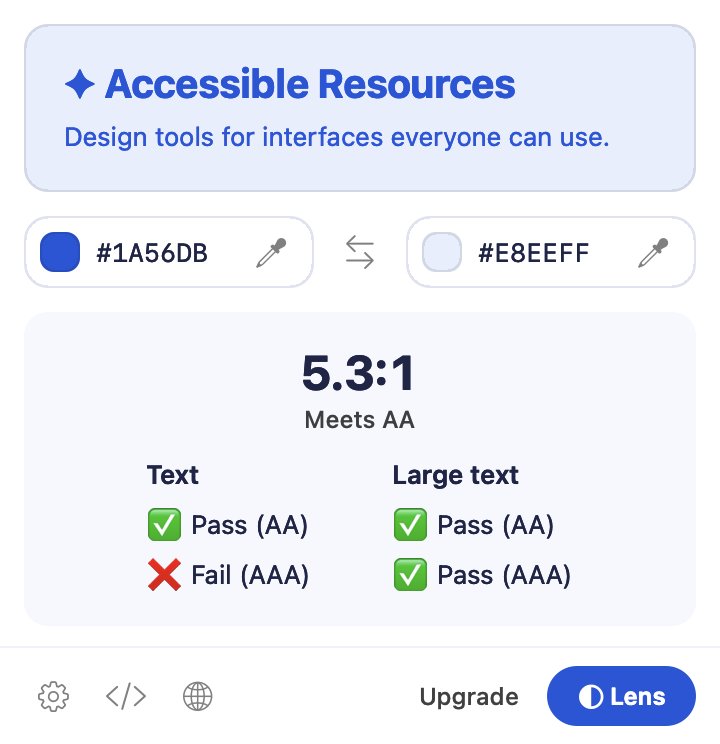
The contrast checker lives in your menu bar (the accessibility figure icon). Open it from there, with the global hotkey ⌃⌥C (Control-Option-C) from any app, or with the Checker button in the hub toolbar.
Picking colors
- Click a color swatch to open the native macOS color panel. Its magnifier eyedropper samples any pixel on screen — images and video included.
- Click the eyedropper button next to the hex field for the quick screen sampler — a crosshair magnifier for grabbing a color in one move.
- Type or paste
hex,rgb(), orhsl()values directly into the fields. - The swap button (⇄) exchanges foreground and background — useful for checking both polarities of a pairing.
Reading the results
You get the WCAG contrast ratio with a plain verdict — “Meets AA” — plus a pass or fail mark for AA and AAA, for both regular and large text. Prefer the WCAG 3.0 draft model? Enable Show APCA Result in the gear menu to see the APCA Lc value in place of the verdict.
Getting results into your work
| Action | Shortcut |
|---|---|
| Open the checker from anywhere (global hotkey) | ⌃⌥C |
| Copy the result | ⌘C |
| Copy as code — SwiftUI, UIKit, CSS, or Android XML — via the </> menu | — |
| Open the result in your browser | ⌘B |
| Share the result | ⌘S |
| Toggle the Lens | ⌘L |
Key symbols: ⌃ Control · ⌥ Option · ⌘ Command.
4. The Lens: color-blindness simulation
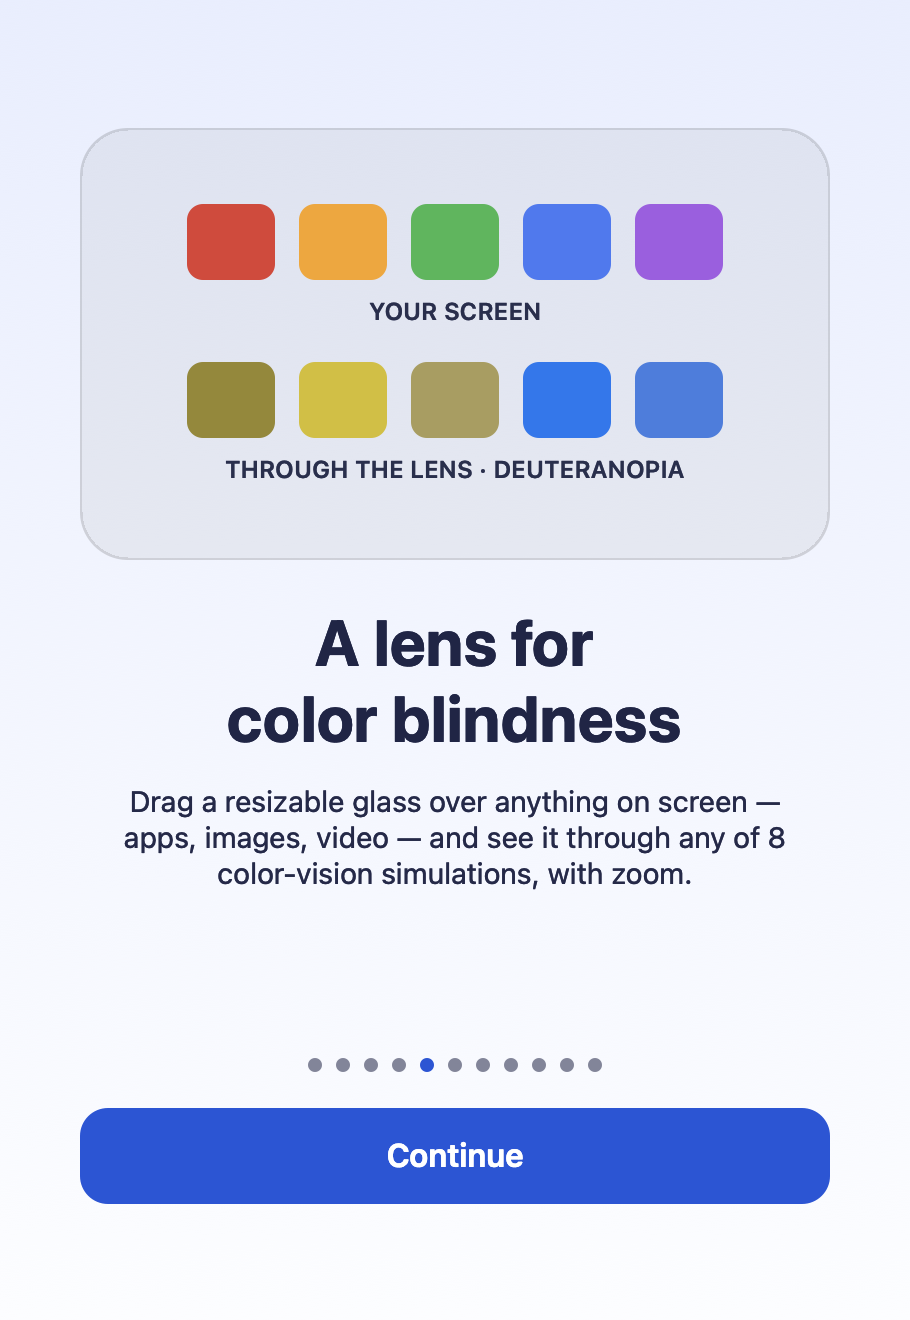
The Lens (macOS 14 or later) is a draggable, resizable glass panel that shows the live screen beneath it through a color-vision simulation. Because it sits over the real screen, it works on anything — designs in Figma, photos, video, data visualisations, another app entirely.
- Toggle it from the checker's Lens button, the hub toolbar, or ⌘L.
- Eight simulations: protanopia, deuteranopia, and tritanopia; their milder -anomaly variants (protanomaly, deuteranomaly, tritanomaly); and achromatopsia and achromatomaly.
- Zoom from 1× to 8×, or switch to full-screen mode to view the whole display through the simulation.
The Lens needs macOS's Screen Recording permission to read the pixels beneath it. macOS prompts once, and the app guides you through granting it.
5. Frequently asked questions
Is my audit data private?
Yes. Audits run in Safari on your Mac, and Send to Reports Hub moves the results between the extension and the app through the shared App Group container on disk — it never touches the network, and there is no account. What you audit stays on your Mac.
Where does the Reports Hub keep its data?
Projects, audit rounds, findings, and your triage statuses are stored locally in the app's Application Support folder. Back up your Mac and you've backed up your audit history.
Why does the statement say “partially conformant” and never “fully conformant”?
Because automated checks can't prove full conformance — many WCAG criteria require human judgement that no scanner can supply. A statement generated from automated results alone that claimed full conformance would be misleading, so the statement's wording is fixed template text: it reports a self-assessed, partial status based on the open issues in your project, in the structure used by EN 301 549 and the W3C statement format.
Which languages can the statement be generated in?
Seventeen: English (en), Czech (cs), Danish (da), German (de), Greek (el), Spanish (es), Finnish (fi), French (fr), Croatian (hr), Hungarian (hu), Italian (it), Dutch (nl), Polish (pl), Portuguese — Portugal (pt-PT), Romanian (ro), Slovak (sk), and Swedish (sv). The statement language is independent of the app's language.